How to Remove Oxidation from Car Paint
Introduction: How to Remove Oxidation from Car Paint
For many car owners, paint oxidation is unavoidable. UV radiation, pollution, and wear can dull paint. When paint interacts with oxygen, the finish becomes dull, harsh, and chalky. Thankfully, oxidation removal is achievable. Your automobile can shine again with the correct equipment, procedures, and care.
This post explains the simplest, most efficient ways to remove automotive paint oxidation. Whether you’re an enthusiast or merely want to update your car, these methods will assist.
What Is Oxidation, and Why Does It Happen?
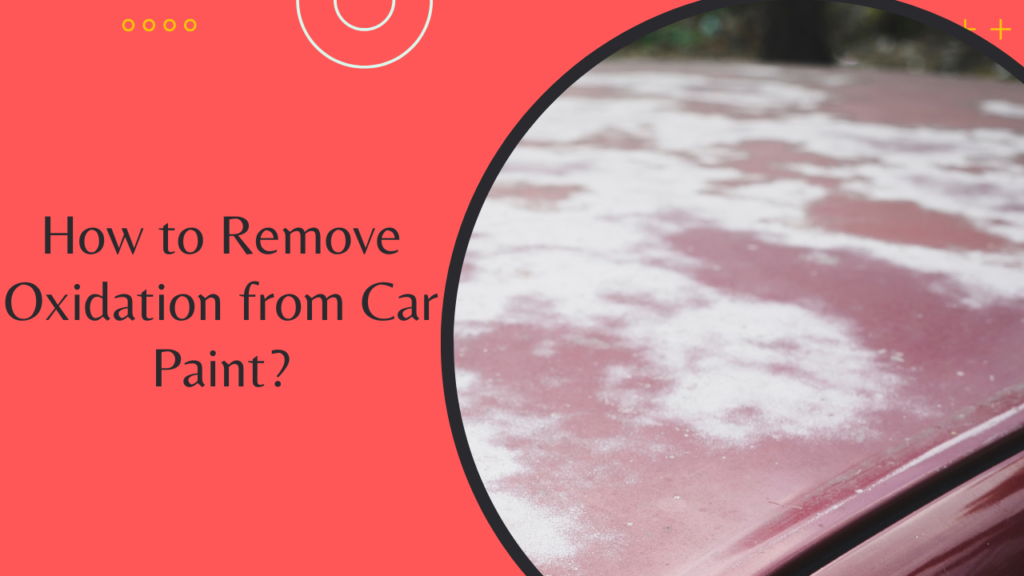
Over time, oxygen oxidizes automotive paint. In hot, sunny locations, it’s frequent. Oxidation degrades paint, making it more susceptible to harm. Not to worry! Oxidation dulls and damages paint, but there are simple fixes.
What It Does to Car Paint
Car paint oxidizes when oxygen interacts with it. Paint breaks down, fades, and becomes chalky. While it starts tiny, it can soon expand across paint layers. Here are the steps:
| Stage | Effects | Treatment Difficulty |
| Light Oxidation | Faint dulling of paint, slight roughness | Easy, DIY methods work |
| Moderate Oxidation | Noticeable dullness, rough surface | Requires specialized tools |
| Severe Oxidation | Heavily faded paint, chalky residue, clear coat damaged | Professional intervention can be needed |
Step-by-Step Guide to Removing Oxidation
Step 1: Assess the Damage
Before deciding on a course of action, inspect your car’s surface. Light oxidation can often be handled with simple DIY solutions, while more severe cases can need professional-grade tools.
- Run your hand over the surface. If it feels rough but still has some shine, you’re dealing with light oxidation.
- Look for chalky residue. This indicates moderate to severe oxidation, especially if the color has significantly faded.
- Check for damage to the clear coat. This will appear as a peeling layer, indicating the need for more advanced treatments.
Step 2: Gather Your Tools
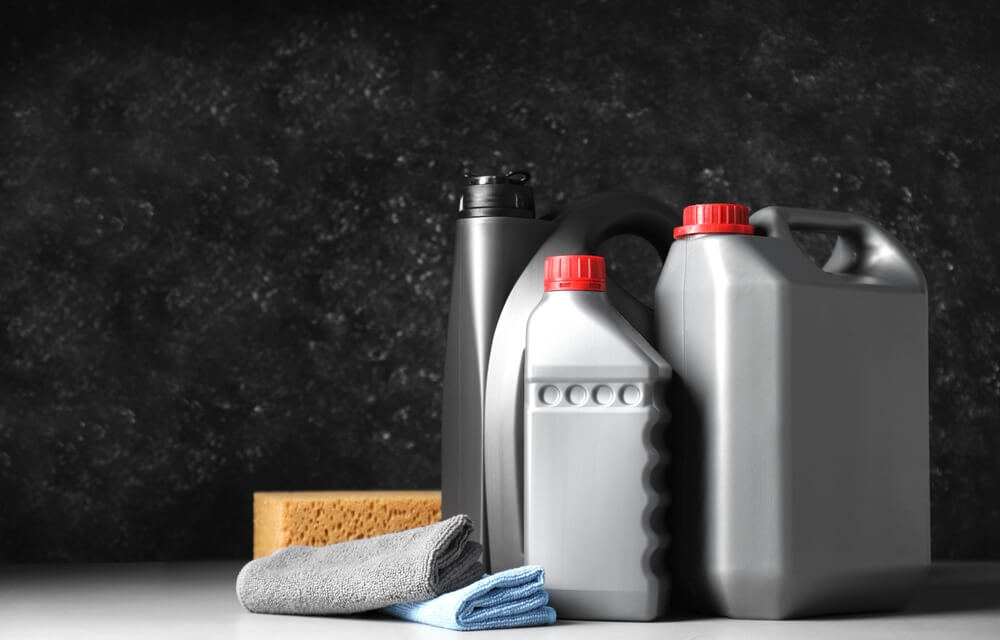
You’ll need a few basic supplies to begin:
| Supplies Needed | Purpose |
| Microfiber towels | For wiping and polishing |
| Clay bar kit | Removes contaminants |
| Car polish | Restores shine |
| Car wax | Protects the paint after polishing |
| Orbital buffer (optional) | Speeds up the process |
A clay bar is crucial in removing surface-level contaminants like tree sap, bird droppings, and pollution residue. Removing these makes the polishing step more effective.
Step 3: Wash Your Car Thoroughly
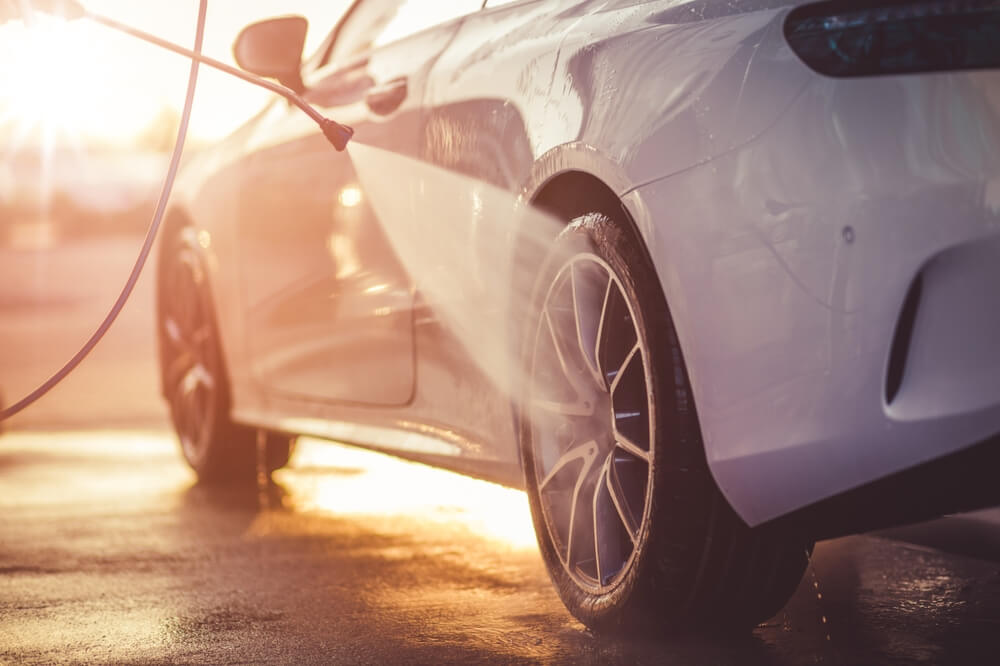
Wash your automobile to eliminate dirt and debris. Prevent paint damage with a pH-balanced auto shampoo. For the following stages to work, you need a clean surface.
- Rinse the car with water first to avoid scratching.
- Use a soft sponge or mitt, scrubbing in circular motions to lift dirt.
- Rinse again and let the car air dry or use microfiber towels.
Step 4: Clay Bar Treatment
After cleaning the automobile, use a clay bar to remove imbedded impurities missed by washing. This critical process smooths and prepares the surface for polishing.
- Apply lubricant to the car’s surface (most clay bar packages include this).
- Gently rub the clay bar over the surface, allowing it to slide easily.
- Wipe away any residue with a microfiber towel.
Step 5: Polish the Paint
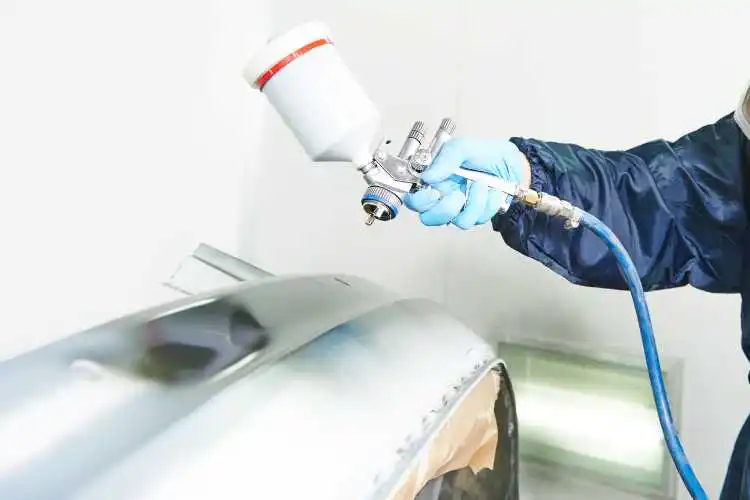
Polishing is where the real transformation happens. This process removes the top oxidized layer, revealing fresh, shiny paint beneath.
- Choose a polish specifically designed for oxidized paint.
- Apply it in small sections, using a microfiber cloth or an orbital buffer.
- Work in circular motions, applying firm but controlled pressure.
- Let the polish sit for a few minutes, then buff off with a clean microfiber towel.
Tip: For deeper oxidation, consider using a compound polish first, followed by a lighter finishing polish.
Step 6: Waxing for Protection
Apply auto wax after polishing. Wax protects paint from oxidation and restores shine.
- Apply wax using a soft cloth or applicator pad.
- Buff in circular motions until the wax is evenly distributed.
- Let it dry to a haze, then wipe off any excess with a clean microfiber towel.
DIY vs Professional
While the steps above are highly effective, there are several alternative approaches you can consider depending on the severity of the oxidation.
| Method | Best for | Advantages | Disadvantages |
| Hand Polishing | Light oxidation | Inexpensive, easy | Time-consuming |
| Machine Buffing | Moderate oxidation | Quick, effective | Requires skill |
| Professional Detailing | Severe oxidation | Expert results | Expensive |
Preventing Future Oxidation
After removing oxidation, prevent it from returning. How to keep your car’s paint shiny:
- Wash your automobile regularly. Wash your automobile every two weeks to slow oxidation: dirt and filth accelerate it.
- Apply wax every 3-6 months. Wax blocks UV radiation and contaminants.
- Park in shaded locations. Sunlight increases oxidation.
- Cover your automobile while parked outside for long durations.
Removing Oxidation from Different Car Types
After covering the basics, it’s important to understand how oxidation removal can differ by automotive paint type. The solution must be modified for each automotive paint type’s oxidation susceptibility.
| Car Paint Type | Recommended Solution |
| Clear-coat paint | Use a mild oxidation remover to avoid damaging the clear coat |
| Metallic paint | Polish with a soft pad to preserve the metallic finish |
| Single-stage paint | Heavier compounds can be used, as this paint type doesn’t have a clear coat |
Using Oxidation Removal Products
If you prefer not to polish or wax manually, there are some excellent oxidation removal products that can save time and effort.
How to Use
- Pick an oxidation remover that’s suitable for your car’s paint type.
- Apply it evenly across the oxidized areas.
- Use a microfiber cloth or buffer to rub it in and wipe off the residue.
| Oxidation Remover | Why It’s Effective |
| All-in-one oxidation remover | Simplifies the process by combining polish and wax into one step |
| Heavy-duty oxidation remover | Best for older cars with severe oxidation issues |
| Clear-coat safe formulas | Ensures the paint’s protective layer is not damaged |
Final Words
Car paint oxidation doesn’t have to ruin its gloss. You can easily restore that shiny sheen with the appropriate equipment and methods. Proper maintenance and upkeep are essential whether you do it yourself or hire a specialist. Since you know the simplest and most efficient procedures, you can confidently start restoring your car’s attractiveness.