How to Remove Paint Transfer from Car
When some other object, wall, or barrier paint contacts your car, a streak of foreign paint appears. Car owners sometimes experience it after small accidents, door dings, or scratching. Foreign paint can damage your automobile, but with the correct equipment and procedures, you can restore its original shine.
What is Paint Transfer?
Smearing or transferring paint occurs when two surfaces contact. This is usually seen in parking lot accidents, mild scratches, and fender benders when one vehicle’s paint touches another.
It usually appears as a smear or smudge on your car’s paint. Paint transfer, unlike significant scratches or dents, rests on top of the clear coat and may be removed without expert aid if treated properly.
How to Identify Paint Transfer
Before removing paint transfer, make sure it’s not a larger dent or gouge in your car’s bodywork. Some obvious signs include:
- Color contrast – The transferred paint will often be a different color than your vehicle.
- Smooth texture – Run your finger over the area. If it’s a paint transfer, the surface will feel raised or rough compared to a scratch or dent, which is typically an indentation.
- No bare metal exposed – In a transfer case, you shouldn’t see any metal or primer beneath your car’s paint.
Here is How to Remove Paint Transfer from Car (Step by Step)
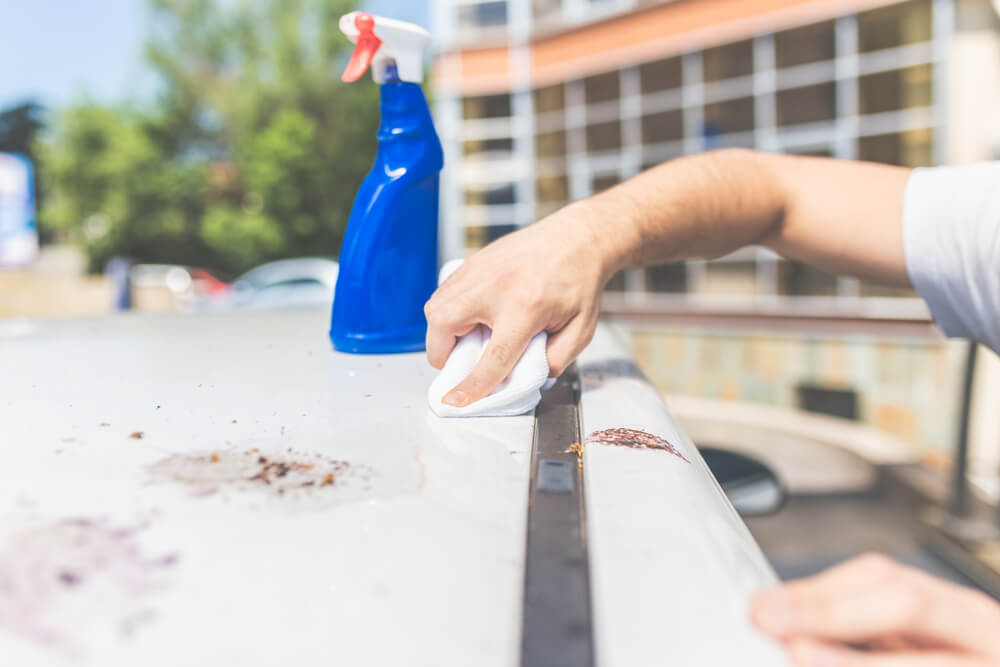
1. Wash and Dry the Affected Area
The first step in addressing paint transfer is to ensure the area is clean. Washing removes dirt, grime, and contaminants that could potentially scratch the surface when removing the paint transfer. Use a mild car soap and water for the best results.
Tip: Don’t use household cleaners. Always opt for products specifically designed for car surfaces to prevent any damage to the paint or clear coat.
Time: 10 minutes
2. Inspect the Damage
After the car is clean, take a closer look at the paint transfer. Now that dirt is gone, it will be easier to assess the severity. Is the paint transfer sitting on top of your clear coat, or does it seem to have etched deeper?
Tools Needed: Inspection with proper lighting
Tip: Use a magnifying lens to closely inspect the affected area for deeper scratches.
Time: 5 minutes
3. Use a Clay Bar
Clay bars remove vehicle surface pollutants, including paint transfer. A clay bar is safe for automotive paint and removes foreign paint from the top layer.
How to Use:
- Knead the clay bar to soften it.
- Spray lubricant over the affected area (usually comes with the clay bar).
- Gently rub the clay over the paint transfer in a back-and-forth motion.
- Wipe off any residue with a clean microfiber cloth.
Results
| Surface Condition | Result After Clay Bar |
| Minor Paint Transfer | 90% removal |
| Moderate Paint Transfer | 60%-70% removal |
| Heavy Paint Transfer | 30%-50% removal |
Time: 15-20 minutes
Tip: Apply light pressure to avoid damaging the car’s clear coat.
4. Apply Rubbing Compound
If the clay bar doesn’t remove all the paint, apply rubbing compound. This moderately abrasive product buffs clear coat defects and removes tenacious paint transfers.
How to Use:
- Apply a small amount of the compound to a microfiber cloth or applicator pad.
- Rub the compound onto the area in small circular motions.
- Allow it to dry for a few minutes.
- Buff the area with a clean cloth to remove the compound and transferred paint.
| Transfer Type | Rubbing Compound Effectiveness |
| Light Transfer | 100% removed |
| Moderate Transfer | 85%-90% removed |
| Deep Transfer | 60%-75% removed |
Time: 20 minutes
Tip: Ensure you don’t use too much pressure, as rubbing compound is slightly abrasive.
5. Polish the Area
Once most of the paint transfer is gone, polish the area to restore the shine to your vehicle’s paint. Polish helps smooth the area further and brings back the glossy finish of your car.
How to Use:
- Apply a small amount of car polish to a clean microfiber cloth.
- Rub it into the area using circular motions.
- Buff off any excess polish with another clean cloth.
| Stage | Before Polish | After Polish |
| Surface Appearance | Dull or hazy | Glossy and smooth |
| Paint Transfer Visibility | Slight remnants | Completely gone |
6. Wax the Surface
After polishing, applying a protective wax is crucial. Wax protects paint from potential damage. It also protects the car’s shine and prevents contamination.
How to Use:
- Apply a thin layer of wax using an applicator pad.
- Let the wax sit for a few minutes (refer to product instructions).
- Buff it off with a clean, dry microfiber cloth.
Time: 15-20 minutes
Tip: Use carnauba wax for a long-lasting protective layer.
Tools and Products You’ll Need
Here’s a breakdown of the essential tools required to remove paint transfer:
| Tool/Product | Purpose | Estimated Cost |
| Clay Bar Kit | Lifts contaminants and transferred paint | $20 – $30 |
| Rubbing Compound | Removes stubborn paint transfer | $10 – $15 |
| Car Polish | Restores shine and smooth finish | $10 – $20 |
| Car Wax | Protects the surface | $15 – $25 |
| Microfiber Cloths | Buffing and wiping down surfaces | $5 – $10 (pack) |
Additional Tips for Successful Paint Transfer Removal
- Test in an Inconspicuous Area – Always test products on a small, hidden area of your car before applying them to the damaged area.
- Use Quality Materials – Low-quality compounds or cloths can scratch your car’s surface. Always use premium products designed for automotive use.
- Protective Gear – Wear gloves when using chemicals like rubbing compounds, as they can dry out your skin.
When to Consult a Professional
While DIY methods are often effective for light to moderate paint transfers, there are instances where professional intervention may be necessary. These include:
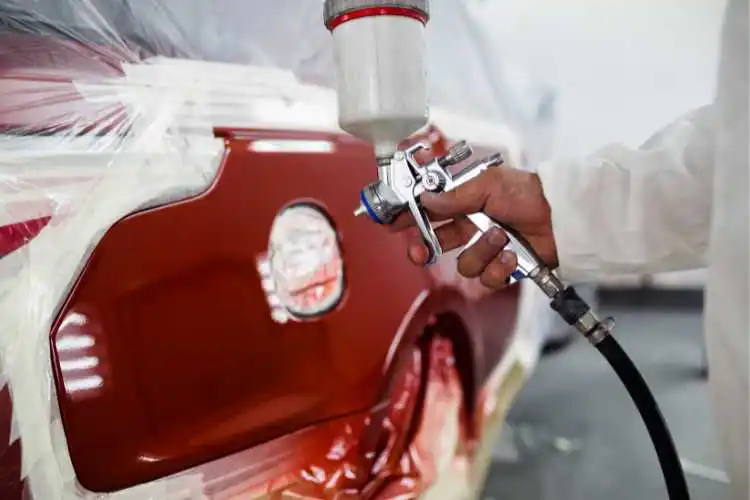
- Deep Scratches – If the paint transfer is accompanied by deep gouges or scratches, professional touch-up paint or bodywork may be required.
- Multiple Layers of Paint – In some cases, paint transfer involves multiple layers of paint or primer. If your DIY efforts don’t yield results, a professional body shop can offer more advanced techniques.
DIY vs. Professional
Here’s a cost breakdown comparing DIY removal versus taking your car to a professional:
| Option | Estimated Cost | Effectiveness |
| DIY Method (Products Only) | $60 – $100 | High for minor to moderate transfers |
| Professional Detailing | $150 – $300 | Excellent for all types of transfers |
Final Thoughts
Paint transfer is unattractive, but with the correct equipment, methods, and patience, it can be entirely cleaned, leaving your automobile looking fresh. Be cautious and pay attention to each step. Getting a professional to handle the work well may protect your car’s attractiveness.
Removal of paint transfer improves your car’s appearance and avoids long-term harm, preserving its worth. Addressing it quickly is worth the time.