How to Smooth Out Touch Up Paint on Car
Introduction How to Smooth Out Touch Up Paint on Car
Touching up your car’s paint might be intimidating if you don’t know how to make it seem seamless. In this post, we’ll show you the simplest and best ways to smooth automotive touch-up paint for a professional finish.
Touch-up paint requires accuracy. We’ll analyze the process from many viewpoints and provide solutions for varied demands and skill levels. Albeit you’re new to touch-up work or an expert, this instruction will help.
Preparation Is Key
Make sure the surface is clean, smooth, and suitable for touch-up paint before applying it. Don’t hurry preparation—it will make or break the outcome.
Materials You’ll Need for Preparation
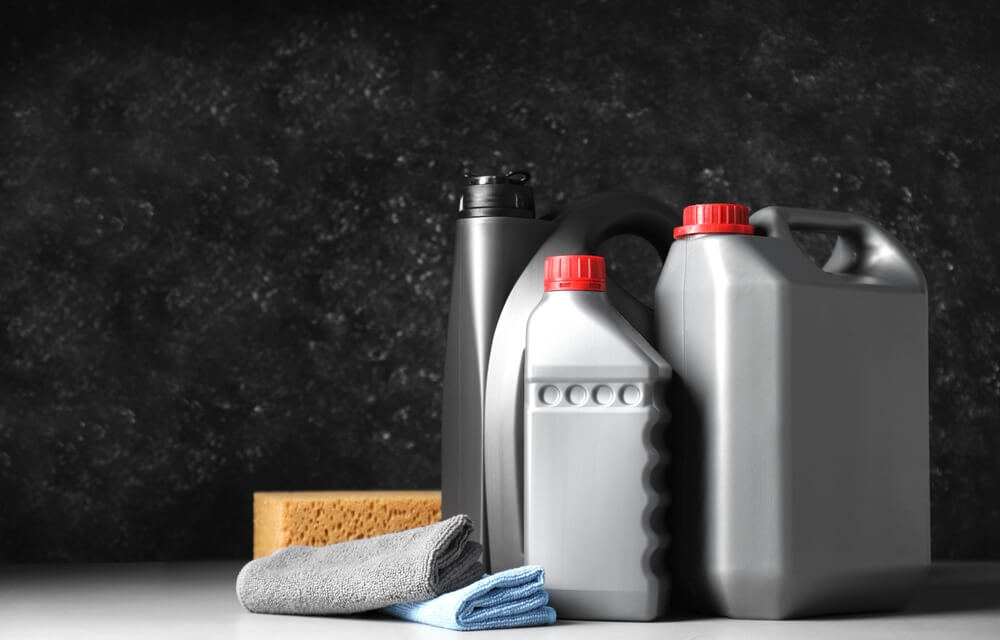
| Material | Purpose |
| Microfiber cloth | To wipe down the surface without leaving lint or scratches. |
| Rubbing alcohol or a specialized cleaner | To remove wax, grease, and other contaminants. |
| Sandpaper (2000 to 3000 grit) | To smooth the edges of any scratches or chips before painting. |
| Painter’s tape | To mask off areas that don’t need paint. |
1. Clean the Area Thoroughly
Dirt, dust, and debris can hinder paint adhesion. Clean with rubbing alcohol and a microfiber cloth. Remove any wax and grease.
2. Sand Down the Area
Around the chip or damage, gently sand with 2000–3000 grit sandpaper. Smoothing the surface helps the fresh paint mix with the old finish. Avoid fresh scrapes by being gentle.
3. Mask Surrounding Areas
Cover unpainted spots with painter’s tape. This gives you greater control and prevents touch-up paint from spreading.
Applying the Touch-Up Paint – A Step-By-Step Guide
Touch-up painting begins after surface preparation. This phase takes time, accuracy, and the appropriate skills for a perfect finish.
Materials for Paint Application
| Material | Purpose |
| Touch-up paint (matched to your car’s color) | To restore the original look. |
| Paint applicator or fine-tipped brush | For controlled application of the paint. |
| Clear coat | To protect the touch-up paint and blend it with the rest of the car. |
1. Choose the Right Paint
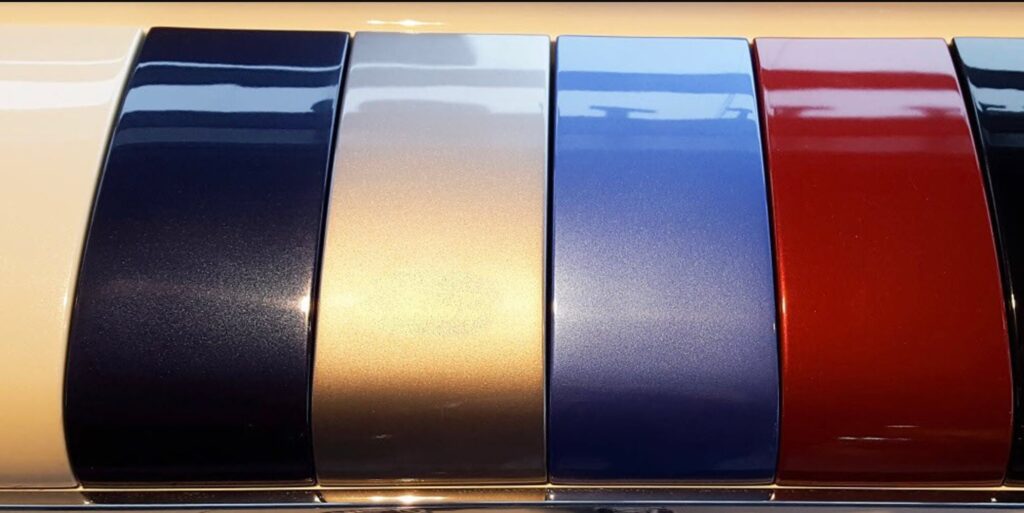
Touch-up paint must match your car’s color. Most manufacturers include paint codes on your car’s identifying tag, generally in the driver’s side door frame. With the code, you can buy a touch-up kit that matches the shade.
2. Apply Thin Layers of Paint
Touch-up paint must be applied thinly and evenly. Apply a tiny quantity to your applicator or brush and carefully fill the scratch or chip. Avoid overpainting to avoid uneven drying and visible repairs.
3. Let Each Layer Dry
After each layer, let it dry before adding another. It can take 10–60 minutes, depending on the weather. Be patient—rushing might result in a bad outcome.
4. Build Up the Layers
Repeat the process of applying thin layers until the paint is flush with the surrounding surface. Remember, you’re aiming for smoothness, so each layer should add just enough paint to fill the scratch without creating a raised area.
Smoothing Out the Touch-Up Paint
Smoothing and polishing after touch-up paint application helps it integrate. The touch-up work becomes amazing here.
Materials for Smoothing and Polishing
| Material | Purpose |
| Wet sandpaper (2000 to 3000 grit) | To smooth out any imperfections. |
| Polishing compound | To blend the touch-up paint with the rest of the car’s surface. |
| Buffing pad or microfiber cloth | For applying the polishing compound. |
1. Wet Sand the Area
After the touch-up paint dries, level any unevenness. Carefully sand the touch-up area with 2000–3000 grit wet sandpaper. Sand gently with wet sandpaper to blend the touch-up paint edges with the surrounding area. Don’t sand too much or you’ll lose the new paint.
2. Polish the Surface
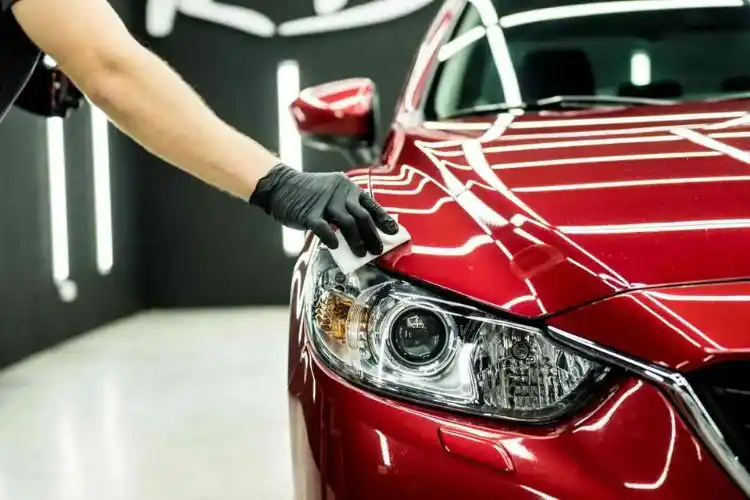
After sanding, add a little polishing compound to a microfiber cloth or buffing pad. Buff the area in a circle to shine and mix the touch-up paint with the finish.
3. Inspect the Area
After polishing, take a close look at the area. If it looks seamless, you’re done! If not, you can need to repeat the polishing process until you achieve a perfect blend.
Preventing Future Scratches
Touching up paint fixes current flaws, but how can you avoid future scratches and chips? How to maintain your car’s paint looking fresh.
| Tip | Explanation |
| Apply a paint protection film (PPF) | This clear film protects high-impact areas like the front bumper, hood, and mirrors from chips and scratches. |
| Use a ceramic coating | Ceramic coatings offer long-term protection from scratches, dirt, and UV damage. |
| Wash your car regularly | Dirt and debris can cause micro-scratches over time, so keep your car clean to prevent buildup. |
| Park strategically | Avoid parking near other vehicles, especially in busy lots, where dings and scratches are more likely. |
Common Mistakes to Avoid
People make mistakes while touching up their car’s paint, even with the correct preparation and supplies. To get a professional finish, avoid these blunders.
| Mistake | Solution |
| Applying too much paint at once | Always apply thin layers and allow each one to dry before adding more. |
| Skipping the sanding process | Sanding is critical to ensuring a smooth blend between the new paint and the old. Don’t skip this step! |
| Using the wrong color | Always use paint that matches your car’s original color code. Mismatched paint will be very noticeable. |
Troubleshooting Touch-Up Paint Issues
Even with the best intentions, touch-up paint can fail. Common concerns and solutions are below:
Problem 1: Paint Looks Raised or Uneven
Solution: Too much paint in one coat might cause this. Carefully wet sand and polish the area to match the car’s color.
Problem 2: Paint Has Bubbles or Blisters
Solution: Paint bubbles when moisture is trapped. You must sand, clean, and restart the procedure to remedy this.
Problem 3: Touch-Up Paint Looks Dull
Solution: If the touch-up paint doesn’t gleam like the rest of the automobile, clear coat it when it cures. This restores shine and prevents paint fading.
Final Words
Car paint touch-ups aren’t scary. Following the appropriate processes and utilizing the right equipment will give you a professional finish with little effort. From preparation to polishing, take your time and avoid frequent errors that might lead to a poor finish.
Fixing minor chips or bigger scratches requires smooth, thin paint coats and careful polishing to harmonize everything together. These tactics can make your automobile appear fresh in no time.
Frequently Asked Questions
1. What if I accidentally apply too much touch-up paint?
Do not worry! Let the excess paint dry before applying more. After drying, carefully sand the area with 2000–3000 grit sandpaper to smooth it out. Avoid removing too much paint by sanding slowly.
2. Can I use household items like nail polish remover to fix mistakes?
Nail polish remover can seem like a simple remedy, but it can harm automobile paint. Use rubbing alcohol to gently fix small errors without damaging the environment.